Directions to install the Illuminated Door Sills created by Supercomputer (member of AcuraZine.com) on a 2005 Acura TL
Driver Side Install
Main install page
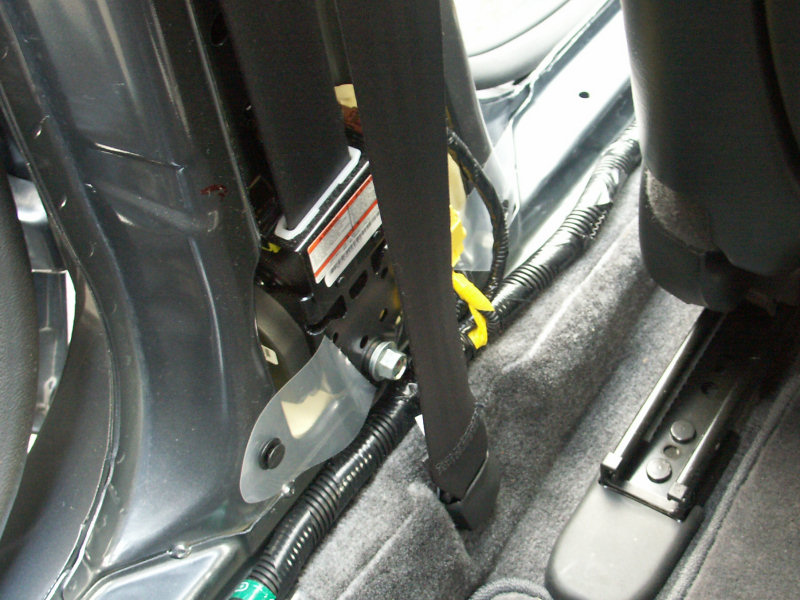
01) Remove all the driver side covers. This B-Pillar area is different from the passenger side.
I don't know why the seat belt is anchored to the car frame on the driver side, but on the passenger side it's attached to the seat.
Anyway, because of this we don't have our super secret stealth location to hide the voltage regulators.
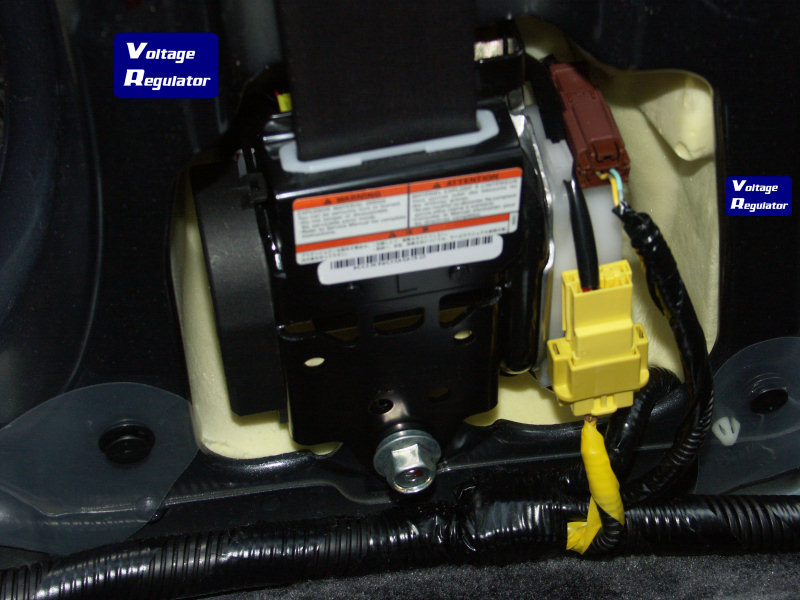
02) The lighting for this picture isn't that great, but it shows where I decided to mount my voltage regulators on the driver side.
The rear one is on the left, the front is on the right side. The rear one is mounted in the area above
the top left corner of the 'open area with foam'. There is plenty of room up there, it's just tricky to
get the voltage regulator up there. For the front sill I had to mount the volt. reg. lower so that the wires
would be able to connect. Both are mounted to have the adhesive facing the inside of the door jam.
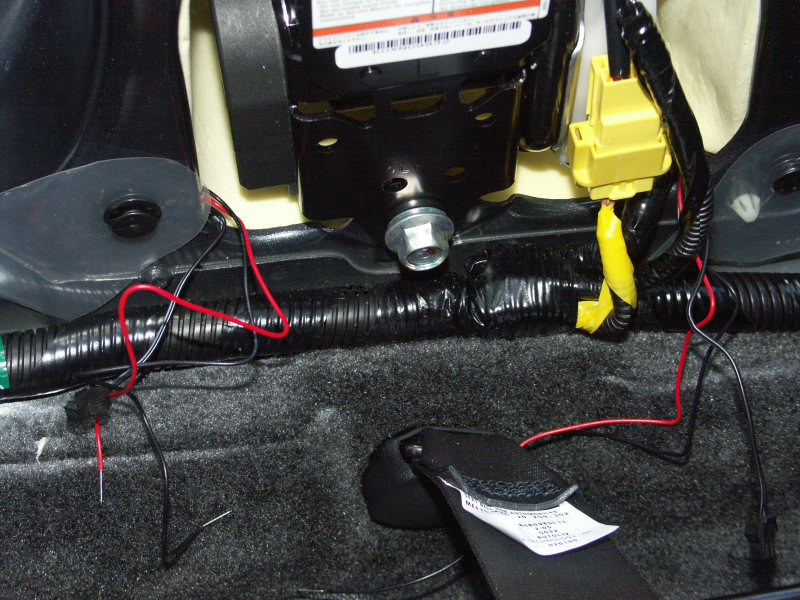
03) Voltage regulators mounted and the wires run vertically down to the bottom where all the connections will happen.
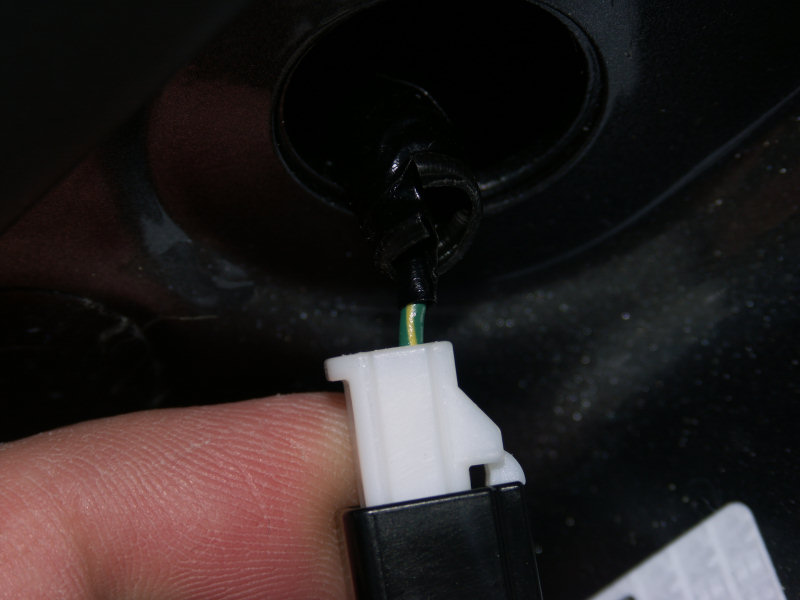
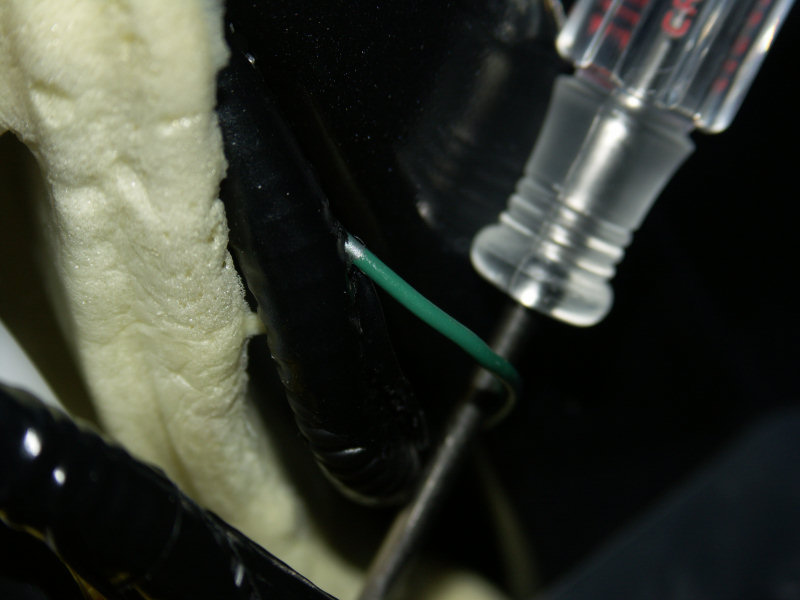
04) Upclose picture of the driver side rear door switch (green w/ yellow stripe).
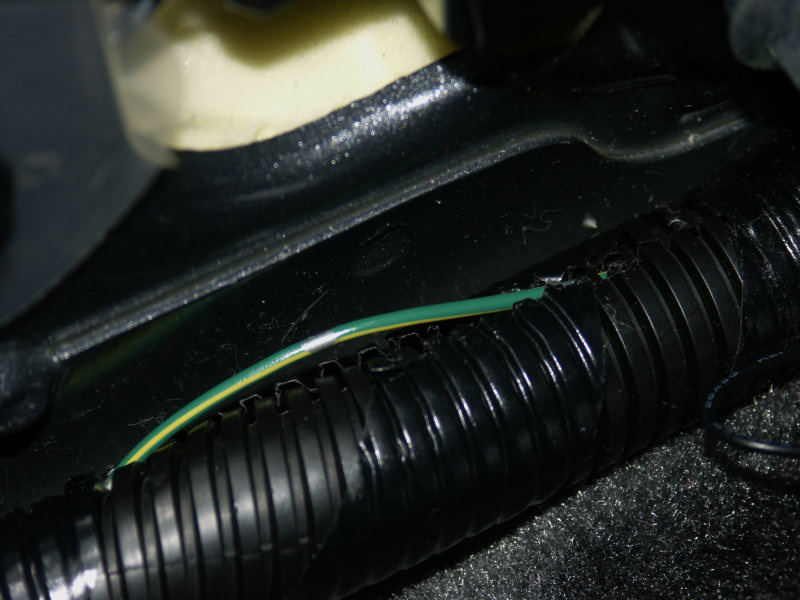
05) Here we found the rear door switch wire in the wire loom directly below the B-Pillar.
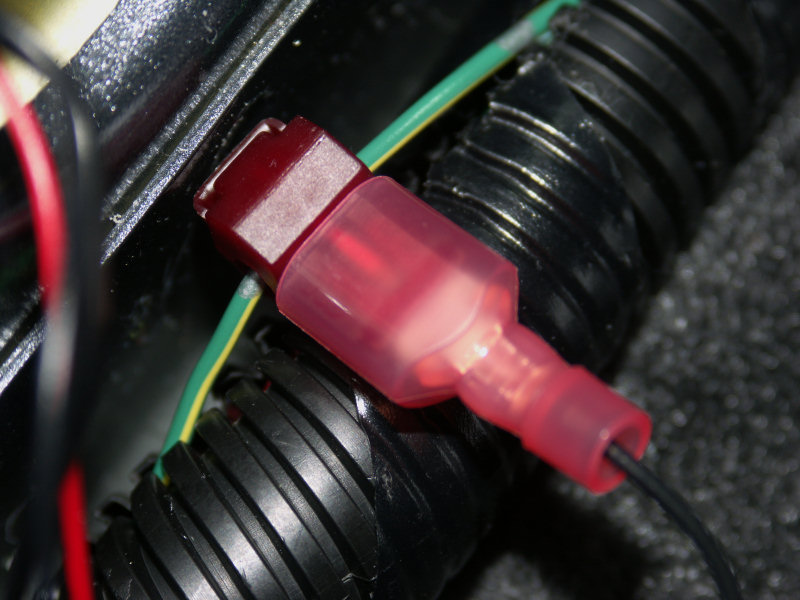
06) Rear door switch wire tapped and connected.
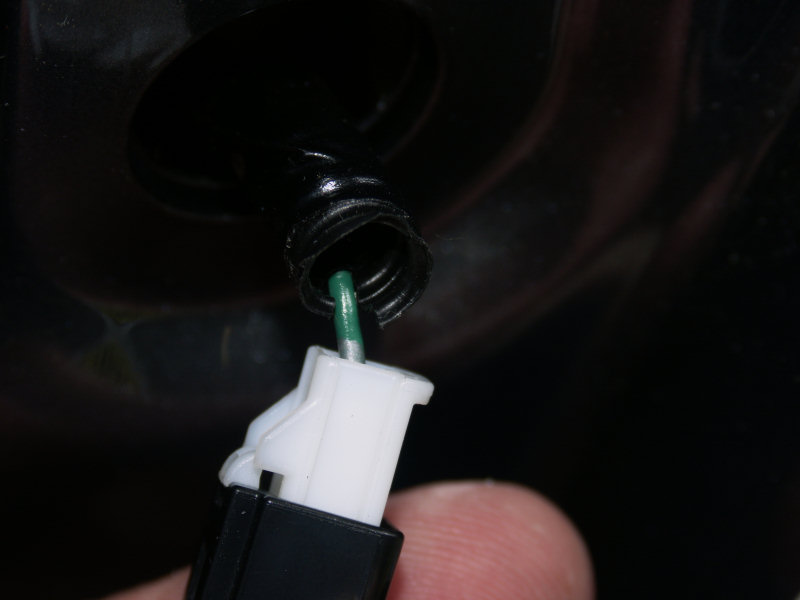
07) Upclose picture of the driver side front door switch (solid green).
08) Again there is enough slack on the wire for us to tap into the switch in the loom in the B-Pillar.
Pull back some of the foam insulation and find the small wire loom that contains the switch wire.
Carefully cut the tape and pull the wire out.
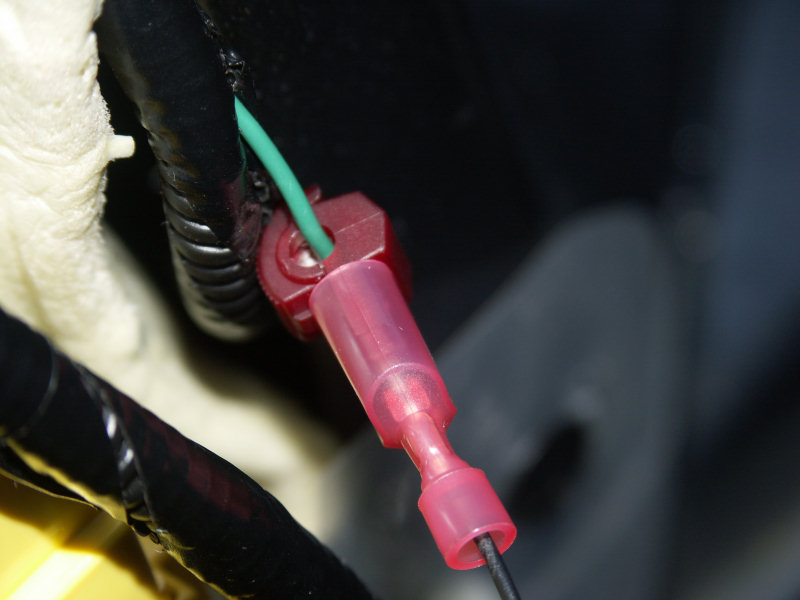
09) Front door switch wire tapped and connected.
10) Route the wires from the sill in the same fashion as we did on the passenger side.
11) Now it is time to find some constant power. Will be be using the gray with blue stripe wire in location 27 in the fuse box
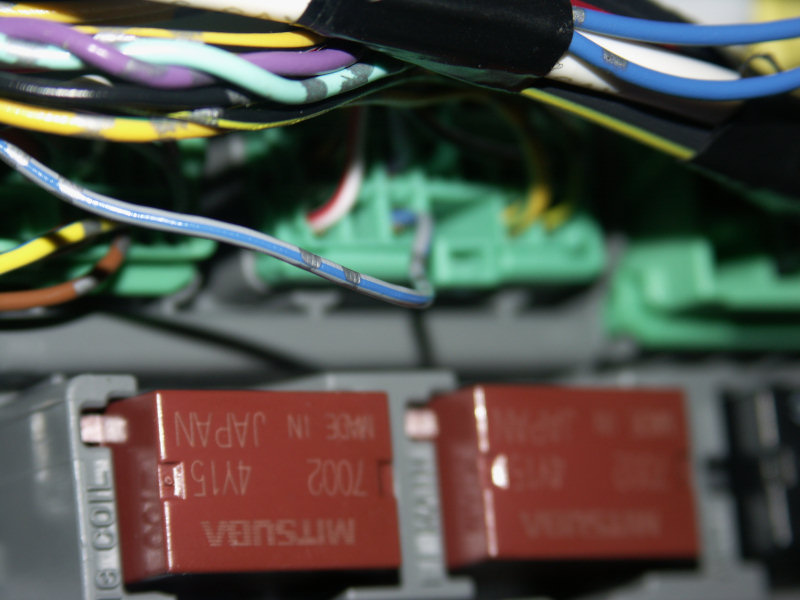
12) Closeup of the connector in location 27 & surounding wires.
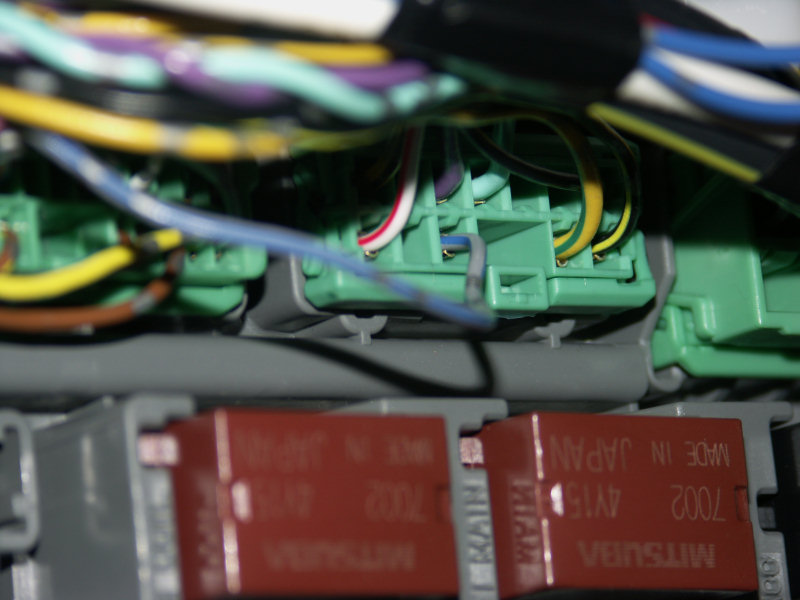
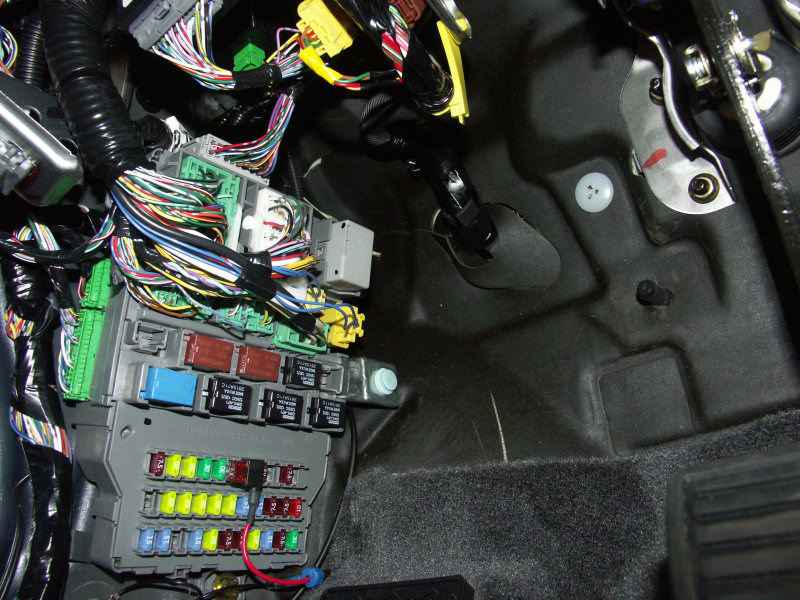
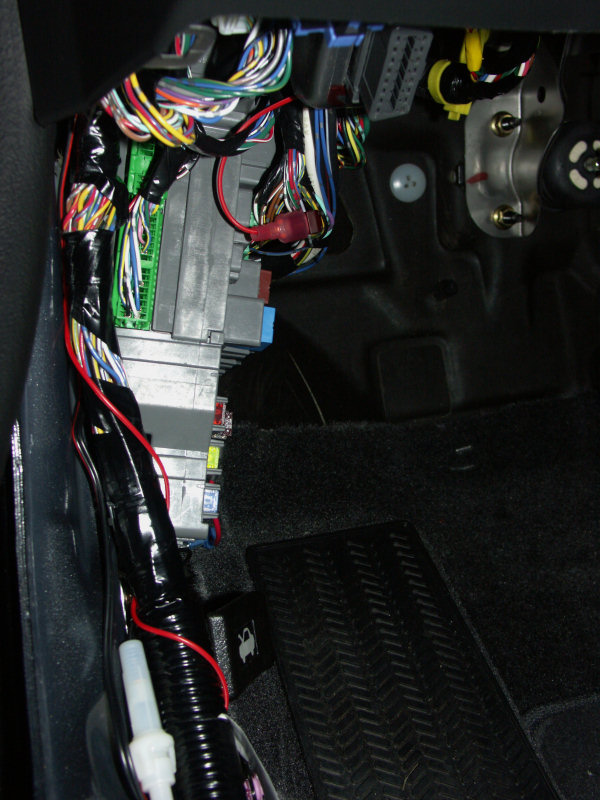
13) Entire interior fuse / driver footwell area.
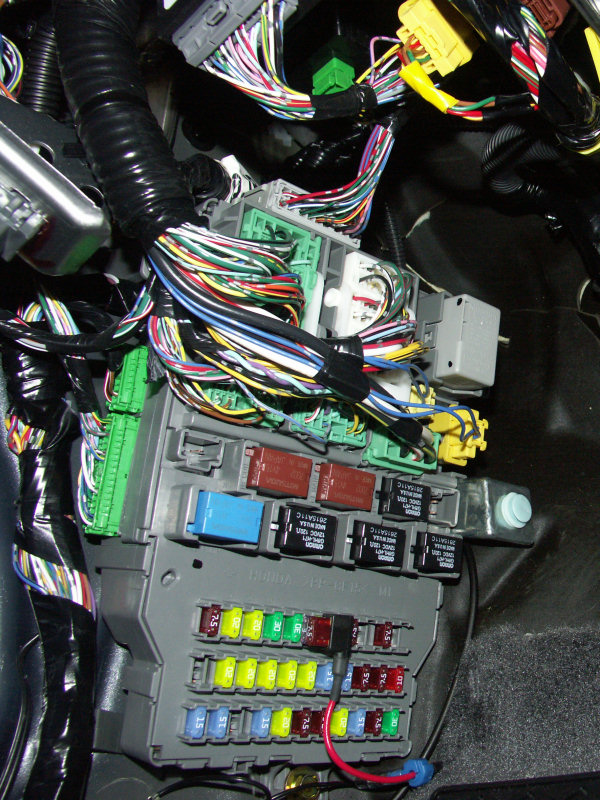
14) Closeup of interior fuse area. That is our gray/blue wire all by itself in the middle.
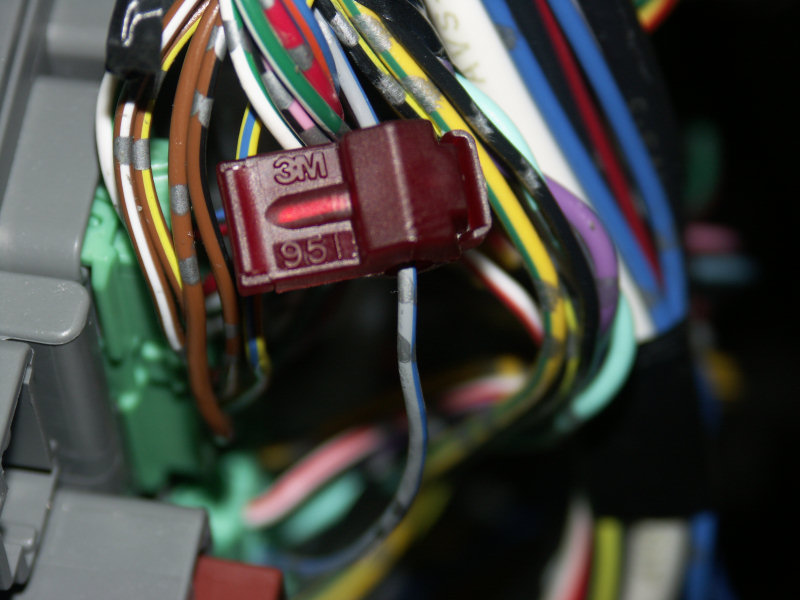
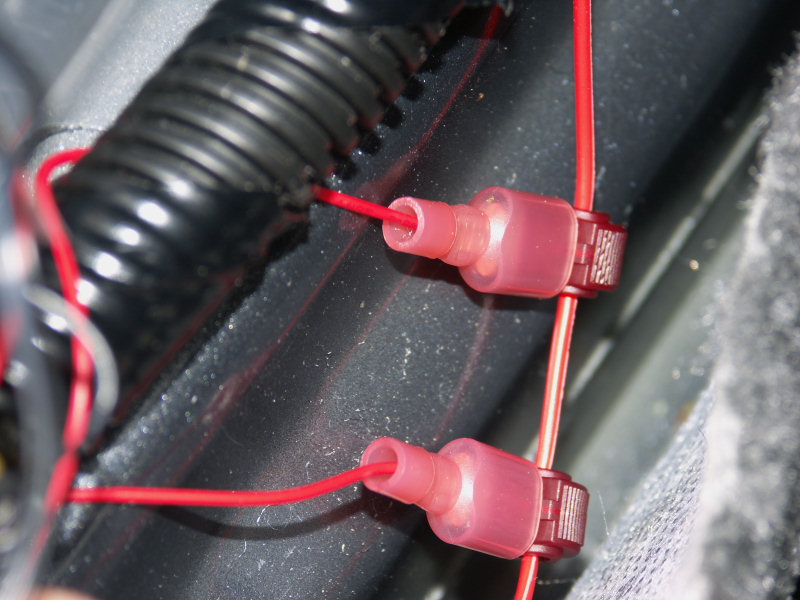
15) Our constant power wire tapped.
16) The routing of our red wire to carry the power to our sills. I went up and around all the wires,
down to the floor of the car, and then back to the B_Pillar area.
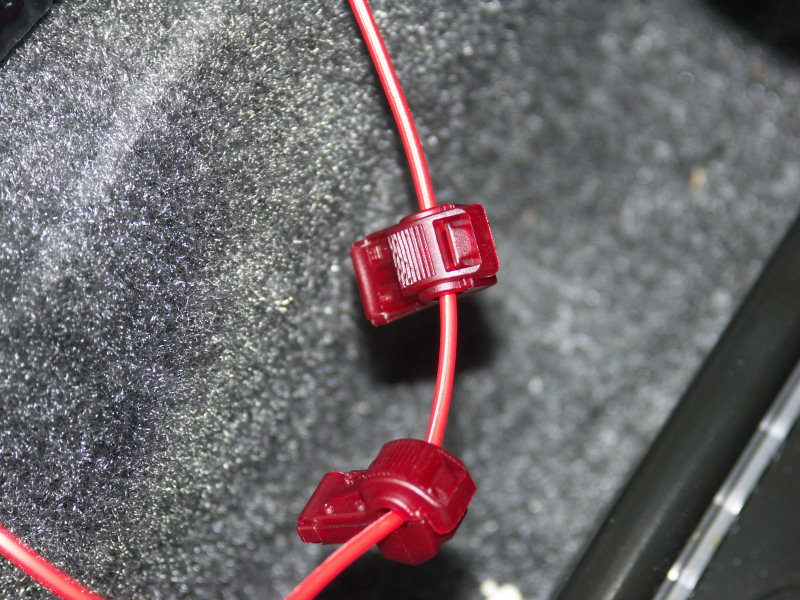
17) Crimp our T-Taps onto the wire.
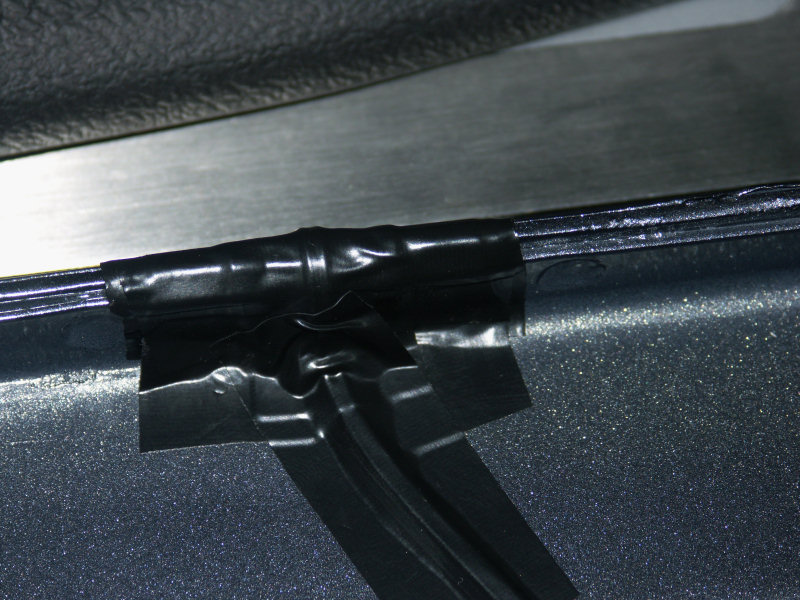
18) Now we need a place to store/hide our constant power wire tap. While there wasn't enough room to
hide the voltage regulators inbetween the carpet and the frame of the car, there is enough room to store
the constant power wire and it's taps.
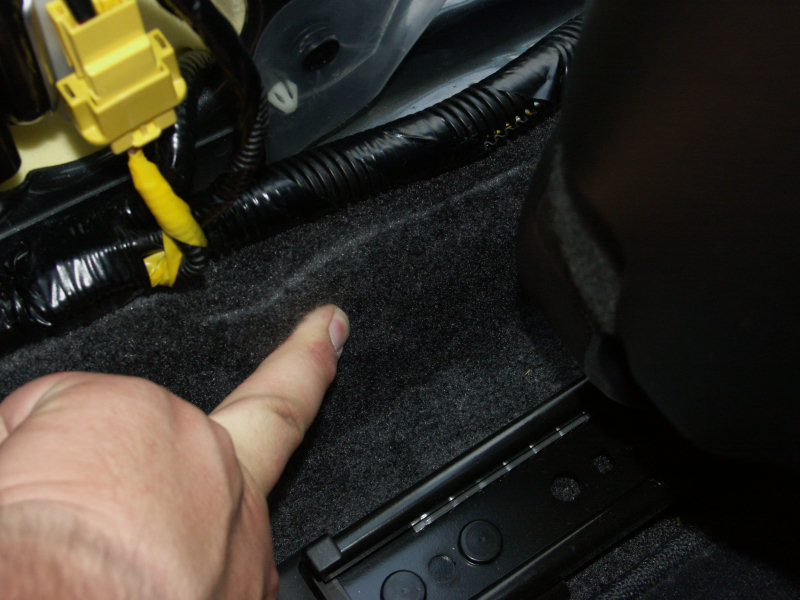
19) Here is the constant power wire in the area between the carpet and vehicle frame.
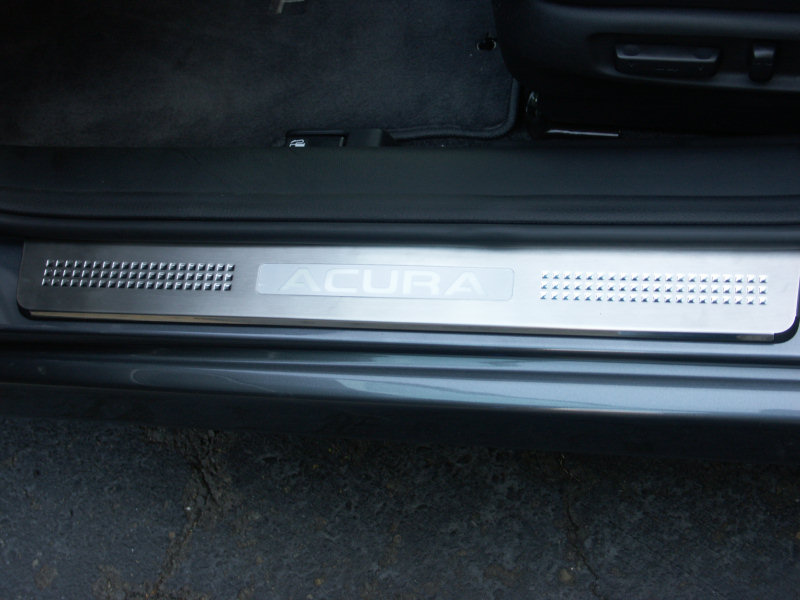
20) Completed install of the front sill.
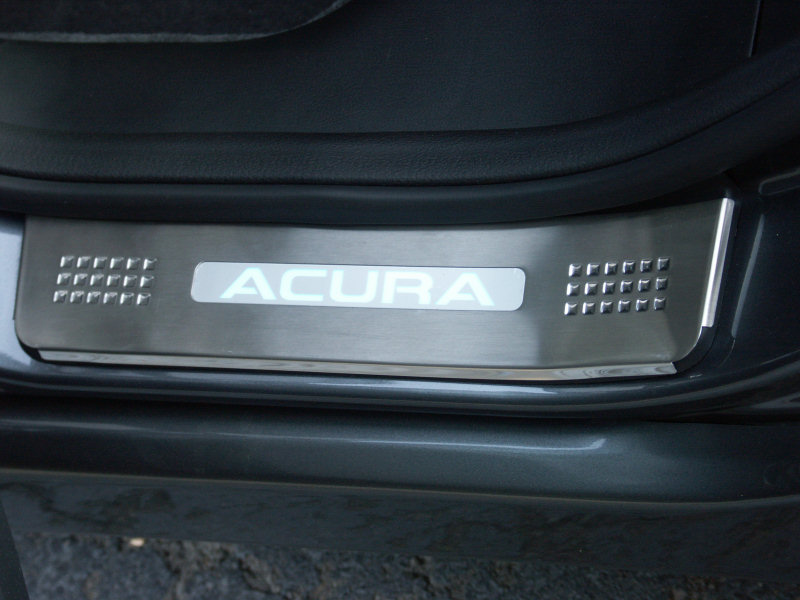
21) Completed install of the rear sill.
22) All of my pictures of the completed install at night didn't come out very well this time around.
But I thought I would include this picture...if you are ever so drunk/high and you walk to your car,
open the door and see something similar to this...you shouldn't be driving. =)